Ballymena Today Youth Team member Elizabeth has previously shared how to draw Tinkerbelle and Princess Aurora. Now she wants to show us how to draw Ariel from The little Mermaid. Over to Elizabeth . . . .
Here are 10 simple steps and guidelines to help you draw her – personally she is my favourite!
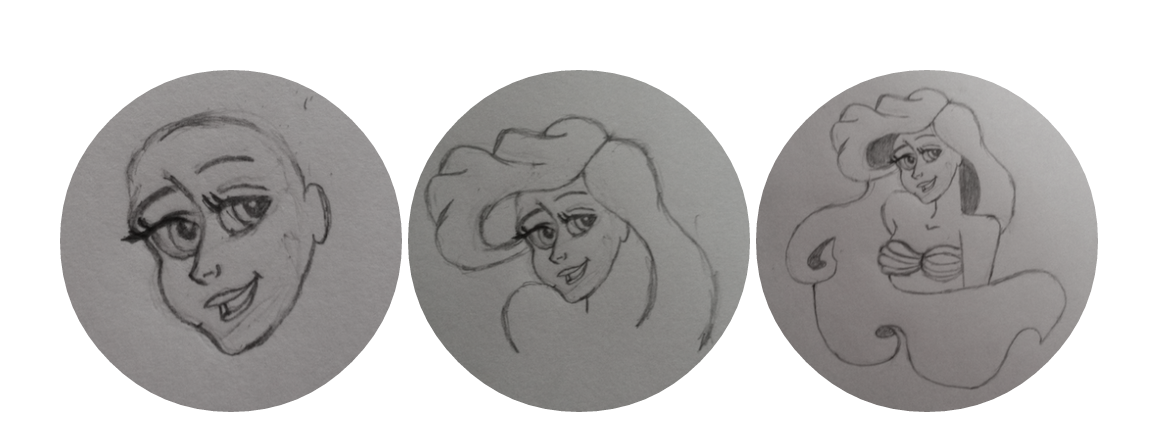
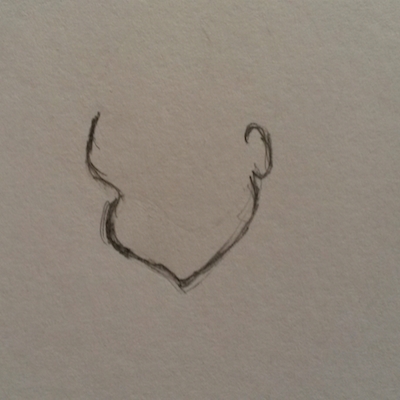
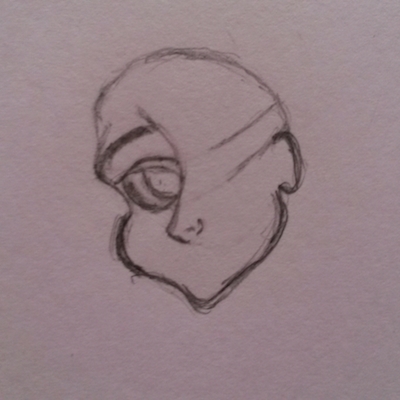
Step 1. Firstly draw Ariel’s head focusing on her cheek and chin, then add a curve/dome for the top – this is only a guideline so this can be drawn lightly enough to rub out.
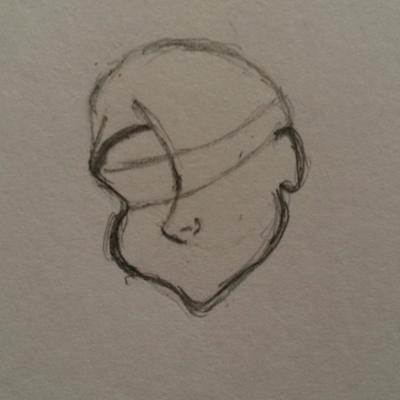
Step 2. Draw the eye guidelines.
Step 3. Draw her left eyebrow, adding a curve for her nose and complete the nose by adding a point and nostrils.

Step 4. Draw her eye.
Step 5. Draw her eyelashes and add a black circle in her pupil.
Step 6. Draw her other eye, eyelash and eyebrow. Her eye is drawn by using a pointed corner and adding a curve, add her eyelashes to the end of her eye.
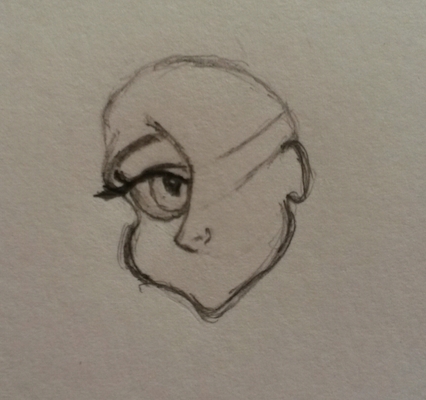

Step 7. Draw her mouth and change the shape of her face if necessary. This is to make sure her cheeks don’t stick out too much and that the face isn’t all squished together. You can also rub out any guidelines that you do not need anymore.
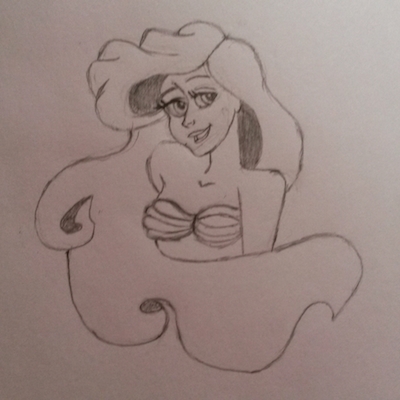
Step 8. Now it’s time to start to draw her hair. Start by drawing her fringe coming over the top of her head. Also draw it coming down to the right of her face. Draw her left shoulder. It is tucked into her face.
Step 9. Draw the top of her seashells. Also draw her other shoulder


Step 10. Finish her seashells. Draw the rest of her hair coming from behind and give it curves and waves. Also add definition to her seashells and you can shade in the darker parts of her hair. Remember to rub out any guidelines.
If you want to, you can colour in, shade or paint your drawing.
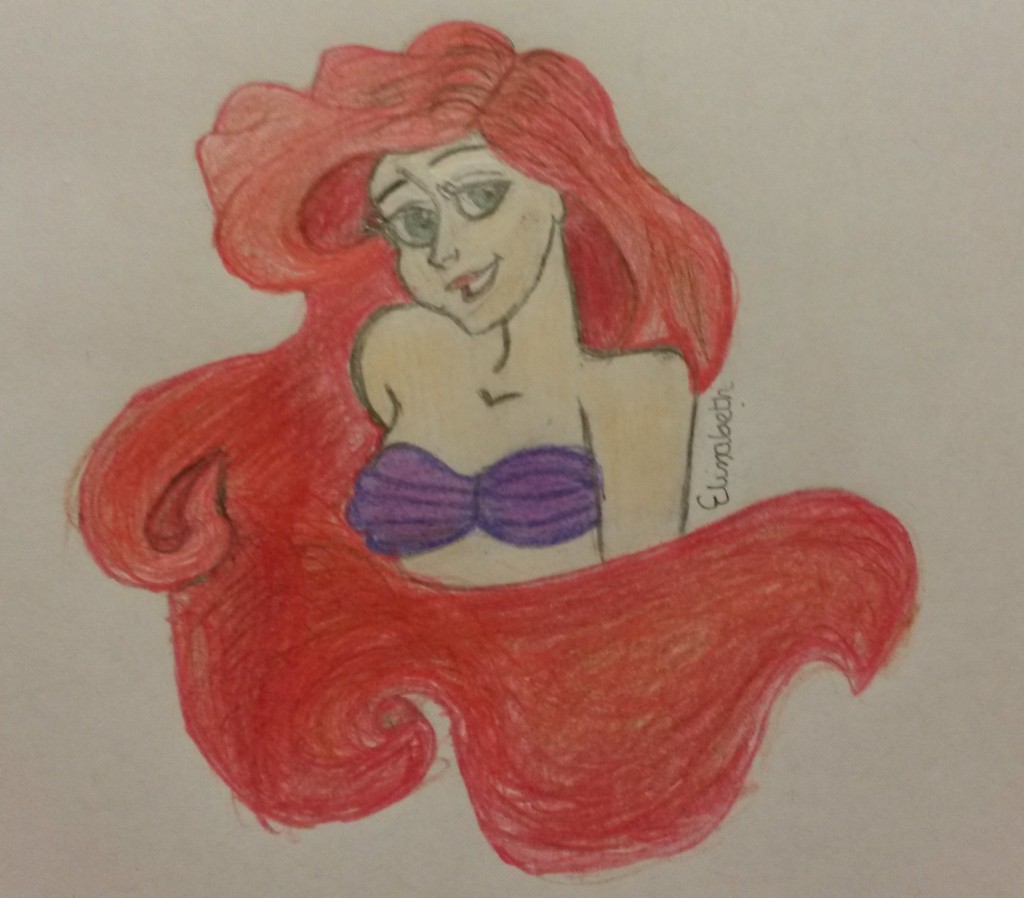
I hope this tutorial on how to draw Ariel from The Little Mermaid helped turned out the way you want. Thank you for taking to time out to read my post and I hope you enjoyed my articles on how to draw some Disney cartoons.